Bar Soap is Just The Beginning!
Once you’ve made that first batch of homemade soap, don’t stop there! Here are some great ideas for turning extra soap into great, chemical free, cleaning products for your home!
So, you’ve just made that first batch of wonderful homemade bar soap. You’re giddy with accomplishment, and have it prominently displayed in every bathroom. But why stop there?
Each little scrap of soap you’ve made, from the imperfect bar that you’re not sure what to do with, to the crumbs and shavings left over, can be turned into valuable cleaning products for your home.
How much do you think you could save each year if you no longer had to buy laundry soap? Beyond the financial savings you could reap, there are some serious health benefits as well. Virtually all laundry soap on the market today is a petroleum-based detergent, the vast majority containing dyes and perfumes that can aggravate allergy problems. After all, when you lay your head down to sleep at night, you have your nose pressed up against pillows, pillowcases, and sheets all washed in these chemicals. If you think this can’t cause problems, let me tell you about my son.
For over a year my ten-year-old son suffered from severe allergy problems. He lived his life completely congested and was constantly on antibiotics for sinus infections. Finally his adenoids became infected and were removed. The problems still continued. After suffering through 87 injections for allergy testing, the medial community found that he reacted to nothing! Sent home, we were instructed to watch his diet for 2 months to see if he had a food allergy.
I had a better idea. I stripped all of his bedding, the curtains in his room, and all of his clothing and washed everything in a batch of homemade olive oil laundry soap. Within a week, he started to show improvement. Within two, his sinuses cleared completely. And today, it’s as though his allergy problems never existed.
Making your own laundry soap is easy. Because we have a septic system, I prefer liquid laundry soap. The following recipe can be made in a couple of hours, all from the scraps of your soap making ventures.
Ingredients: 16 oz. of homemade soap grated or cut into small chunks (Any kind will do.), 48 oz. water, 16 oz. white vinegar
Combine all ingredients into a large pot and simmer on a very low heat for 2 – 3 hours, stirring occasionally. Continue to heat until the soap chunks are completely dissolved. Your liquid soap will be quite thick, but it will thin a bit once it has completely cooled. Allow your soap to cool, and then funnel it into a jug or old laundry soap container that has been thoroughly rinsed.
To Use: Add 1 cup of laundry soap to the water in your washing machine before putting in the clothes.
I have always used Olive Oil Soap, as this is the only soap I tend to make, and I am consistently amazed at how well it cleans. I never have a problem with oily spots on clothes, and seldom have to bother with pre-treating a stain.
How To Make Soap – Homemade Soap Making for Beginners
How to make your own soap at home using the cold process soap making method. A step by step guide for beginners
- Create home made natural soap from scratch, using natural ingredients, which you you probably have in your pantry
- Make pure and natural soap, free from harmful ingredients, avoiding known irritants
- Easily calculate how much soap you need to make to fill your mold, and create your own recipes
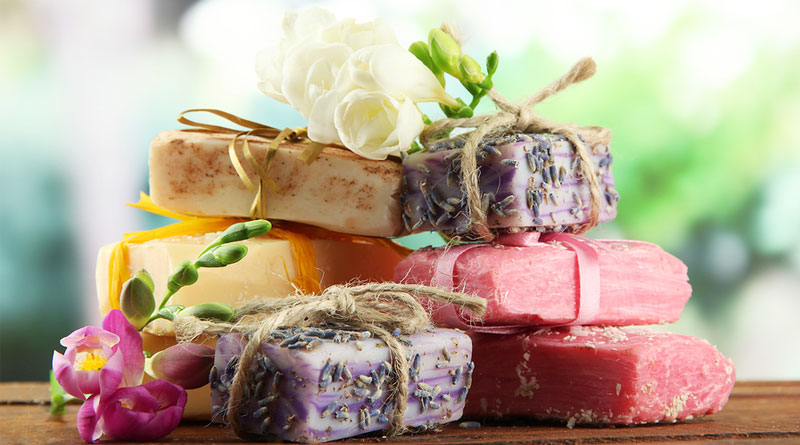
- Use colours and fragances to create fabulous looking, amazing smelling soap, that is good enough to give as gifts or sell
- Use inexpensive items to create amazing packaging for your soap.
- Build and develop a new creative hobby.